Fabric inspection at intake with the 4-point system
Every garment factory has a story about the lay that went wrong. Forty plies of fabric are spread on the table, the marker is placed, the cutter goes through, and only then does someone notice a running shade band or a line of slubs repeating every metre. At that point the defect is no longer the supplier's problem. It is yours, multiplied by forty.
A defect caught at the receiving door costs a photo, a phone call and maybe a credit note. The same defect caught after cutting costs the fabric, the cutter's time, the re-spread, and often a missed shipping date. Fabric inspection at intake is the cheapest quality control you will ever do, and the 4-point system is the most widely accepted way to do it.
What the 4-point system actually measures
The 4-point system, based on the ASTM D5430 standard, assigns penalty points to each defect according to its length. It does not care what the defect is called; it cares how big it is, because size is what determines how much fabric you lose when you cut around it.
| Defect length | Penalty points |
|---|---|
| Up to 3 inches (7.5 cm) | 1 |
| Over 3 and up to 6 inches (15 cm) | 2 |
| Over 6 and up to 9 inches (23 cm) | 3 |
| Over 9 inches, and any hole | 4 |
Two rules keep the count honest. First, no single linear yard can collect more than 4 points, however many defects it has. Second, any hole or opening is an automatic 4, whatever its size.
The calculation, with a real example
Points alone mean nothing until you normalise them to an area. The standard result is points per 100 square yards:
Points per 100 sq yd = (total points × 3,600) ÷ (yards inspected × fabric width in inches)
Say you receive 20 rolls of 160 cm (63-inch) cotton jersey and inspect 4 rolls totalling 200 yards. Your inspector logs 38 points. The result is (38 × 3,600) ÷ (200 × 63) = 136,800 ÷ 12,600 = 10.9 points per 100 sq yd.
The most common acceptance limit for apparel fabric is 40 points per 100 square yards for the shipment, with individual rolls allowed up to about 50 before they are rejected. Many buyers set tighter limits, for example 28 for knits going to European retailers. Whatever the number, agree it with the supplier in writing before the fabric arrives, not when it is sitting in your yard.
How much to inspect and how to set up the table
Inspecting every metre of every roll is rarely practical in a busy Egyptian factory. The common rule is to inspect the square root of the number of rolls, rounded up, or at least 10% of the shipment. For a 100-roll delivery, that means 10 rolls. If any roll fails, widen the sample; if the shipment fails, inspect everything or reject the lot.
A workable inspection station needs very little:
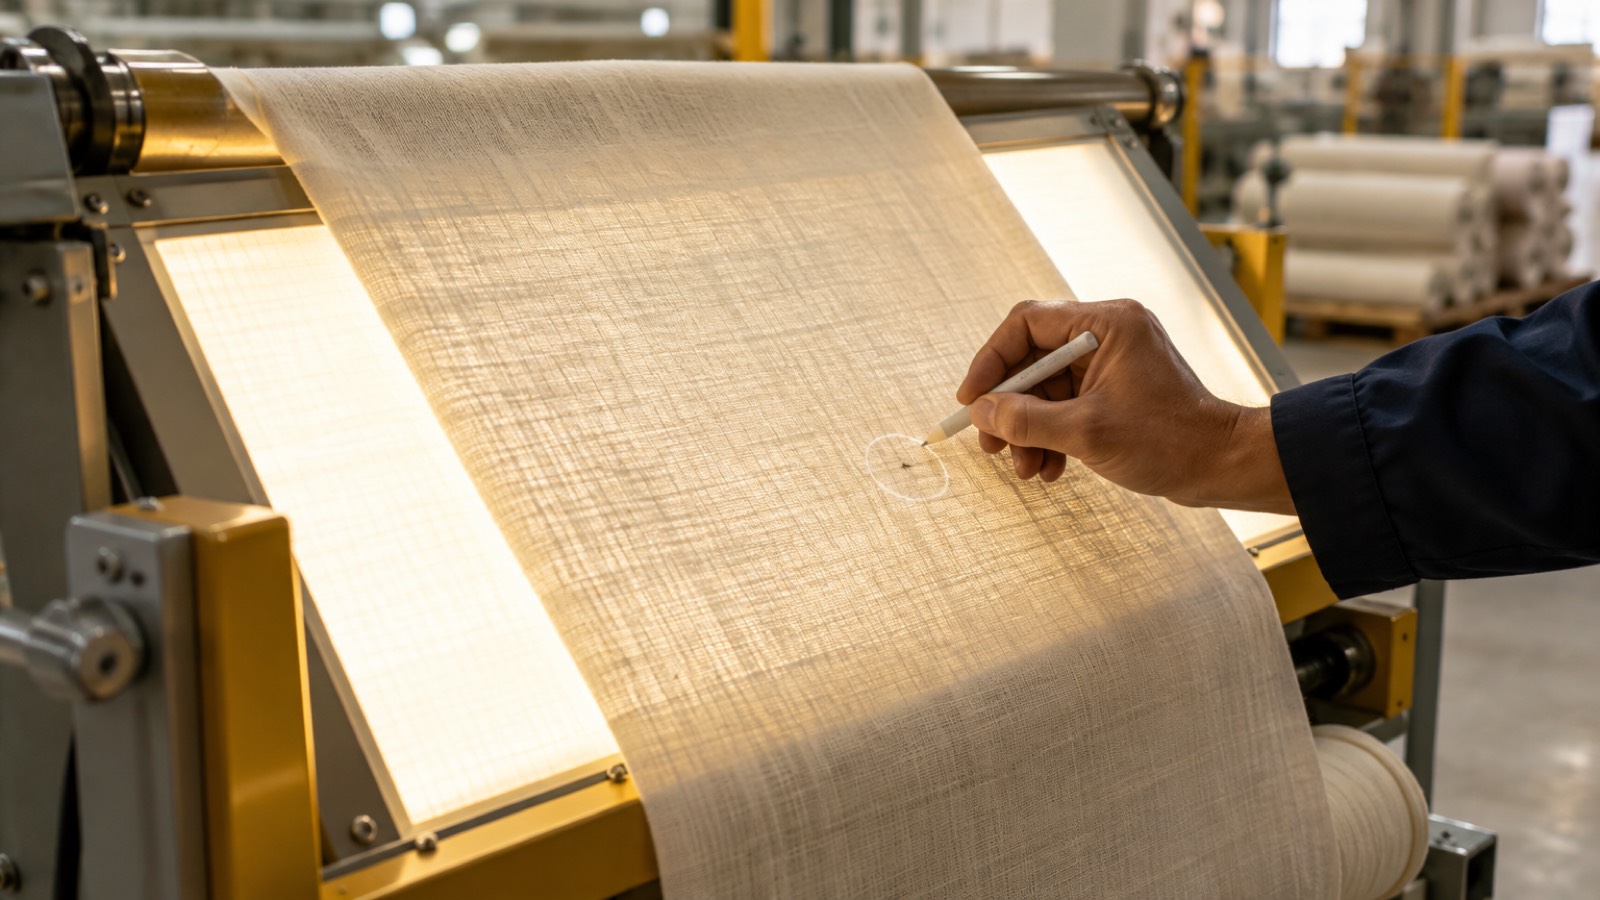
- An inspection frame with a backlight and an overhead light of at least 1,000 lux, tilted around 45 degrees toward the inspector.
- A speed the eye can follow, usually 10 to 15 metres per minute. Faster than that and small defects pass unseen.
- A light box or daylight lamp (D65) for shade checks between rolls and against the approved standard.
- A simple inspection sheet per roll: supplier, lot number, roll number, labelled length, actual length, width, points, and the decision.
- Coloured stickers to mark each defect on the selvedge so the cutting room can avoid it later.
Beyond points: length, width and shade
The 4-point score covers surface defects, but three other checks often matter more to cost. Measure the actual length against the ticket; a 2% shortfall on 5,000 metres is 100 metres you paid for and never received. Measure usable width at the start, middle and end of each roll, because a marker planned for 160 cm will not fit a roll that narrows to 155 cm. And group rolls by shade before they reach the cutting table, otherwise you will discover the mismatch when sleeves and bodies are sewn together.
Width and length variation feed straight into marker efficiency and cutting-room waste. A good intake check is the first step in controlling both.
What to do with a failed roll
Rejected rolls should be physically separated and labelled the same day. Leaving them in the main rack invites someone to issue them to cutting when the line is waiting. Photograph the defects, keep the inspection sheet, and send both to the supplier with the roll and lot numbers. Most disputes are settled quickly when the evidence is clear and the acceptance limit was agreed in advance.
If you decide to accept a borderline roll for a less demanding order, record that decision. Otherwise the roll becomes an invisible exception, and when the order closes the extra loss shows up without explanation. This is exactly where reconciling material received against pieces produced becomes hard.
Connecting intake to FIFO and costing
Inspection only pays off if the inspected and approved rolls are the ones that actually get used, in the order they arrived. A factory that inspects carefully and then issues rolls at random loses half the benefit. That is why intake inspection works best alongside strict FIFO on the shop floor: approved lots move forward in sequence, rejected ones stay out of the queue, and loss can be traced back to a specific delivery.
Where Nasij fits
Nasij does not replace the inspection frame or the inspector's eye. What it does is record the outcome as part of your inventory. Each delivery is entered as a material intake against its purchase order, issues to production follow FIFO order (with "block" mode preventing out-of-sequence issues), and fabric that is rejected or wasted is logged as a return or a loss movement rather than disappearing. When the order closes, the purchase-order reconciliation shows how much was received, issued, returned and lost, so a weak supplier lot is visible in the numbers rather than buried in them. Pair that with true per-piece costing and you can see what a bad delivery really cost you.